Part 2 – Configuring a Custom Domain in Azure and Cloudflare
Part 2 of 5 from the series Deploying a Cheap, Secure, and Automated WordPress Website on Azure.
Prerequisites:
-Completed Part 1 where we deployed a WordPress site using Azure App Service.
In this post, we will cover adding a custom domain to Azure and verifying it via Cloudflare DNS. We will then add an A record to Cloudflare so we can use a custom domain instead of the domain.azurewebsites.net address provided to use by Azure. To finish, we will add one last DNS record, a CNAME for www. This is so folks can get to your site using www.yourwebsite.com.
Get a custom domain verification ID
Open the Azure portal, and sign in with your Azure account.
Select the app in the Azure portal
- Search for and select App Services.
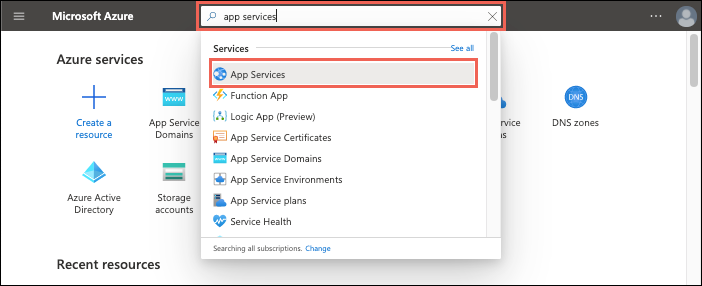
- On the App Services page, select the name of your Azure app.

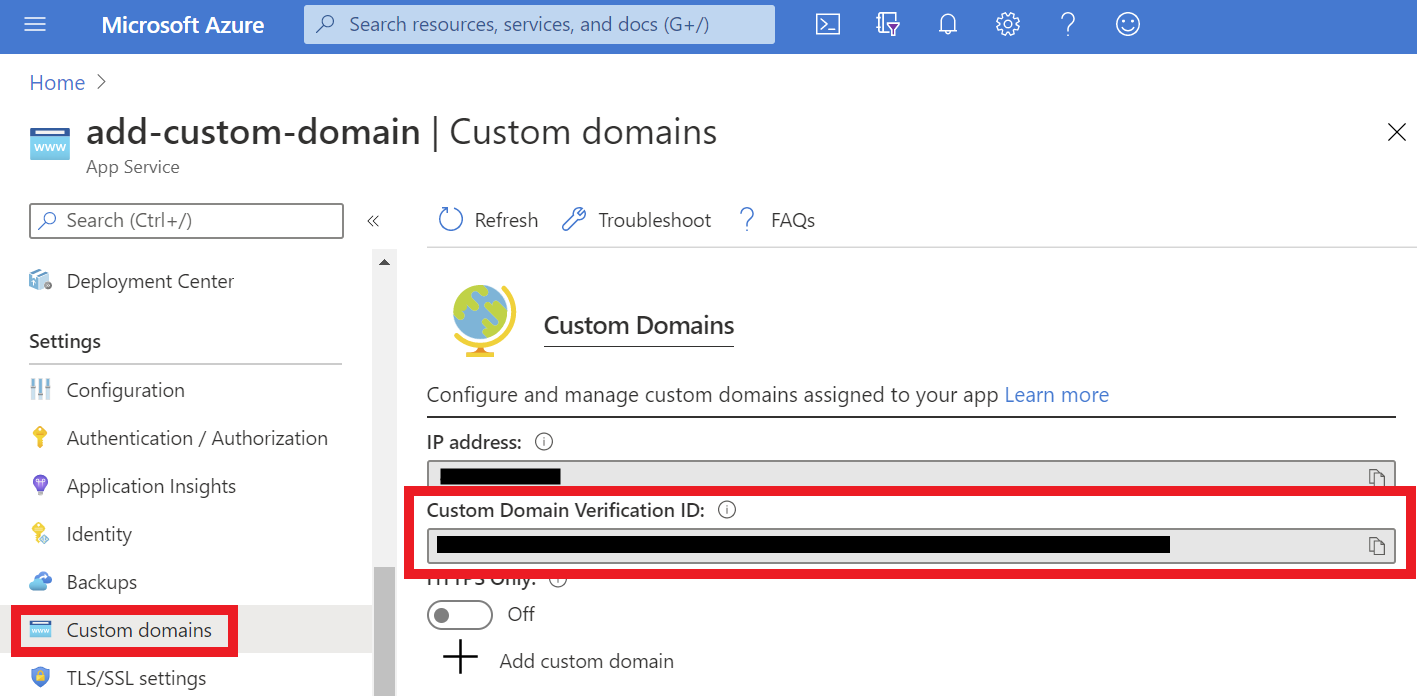
You see the management page of the App Service app. To add a custom domain to your app, you need to verify your ownership of the domain by adding a verification ID as a TXT record with your domain provider (see Cloudflare DNS example below). - In the left pane of your app page, select Custom domains.
- Copy the ID in the Custom Domain Verification ID box in the Custom Domains page for the next step.
- (A record only) To map an A record, you need the app’s external IP address. In the Custom domains page, copy the value of IP address.

6. Now that we have our virtual IP and Custom Domain information copied it’s time to login to Cloudflare.

Once logged in, click the Domain Registration drop-down button, click Manage Domains, on the right side of the screen click Manage, and finally click DNS.
7. Add an A record that uses @ as the Name and the virtual IP you copied as the content. Add a CNAME record that uses www as the Name and yourwebsite.azurewebsites.com as the content. Add a TXT record using asuid as the Name and the Custom Domain Verification ID as the content.

There you have it, you have now successfully set up the DNS records needed in Cloudflare. We still need to go back over to Azure and finish the Custom DNS setup.
8. Head back to the Azure portal and finish verifying www.yourwebsite.com and yourwebsite.com. The validation checks should now pass without any trouble.
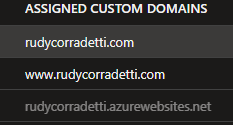
Once completed you will see your domains in the list of Assigned Custom Domains.
You will notice that the SSL state for both domain entries is showing Not Secure.
We will address that and more in Part 3 of our series.
Thanks again for reading this far!
Feel free to shoot me a comment or use the contact page if you have any feedback.
-Rudy
Reference Links:
https://docs.microsoft.com/en-us/azure/app-service/app-service-web-tutorial-custom-domain?tabs=a%2Cazurecli#2-get-a-domain-verification-id
3 thoughts on “Part 2 – Configuring a Custom Domain in Azure and Cloudflare”