Part 5 – Configuring Budget and Resource Utilization Alerts
Part 5 of 5 from the series Deploying a Cheap, Secure, and Automated WordPress Website on Azure.
Prerequisites:
-Completed part 4 where we generated an SSL certificate and configured end-to-end HTTPS encryption for our site.
At this stage in the setup, we have a fully functional and secure WordPress site with a process to automatically renew our SSL certificates for free. If you are like me, you are trying to run a WordPress site without breaking the bank. In that spirit, we will setup a budget to notify us when our spending reaches $20 for the month.
Sign into Azure
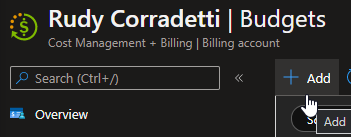
1. Azure Home > Cost Management > Budgets > Click Add
2. I have been running this Azure app service instance for a few weeks now so Azure has prepared a forecast based on my previous utilization.
Fill in Name, Reset period, Creation date, Expiration date, and Amount.
Go ahead and click Next.
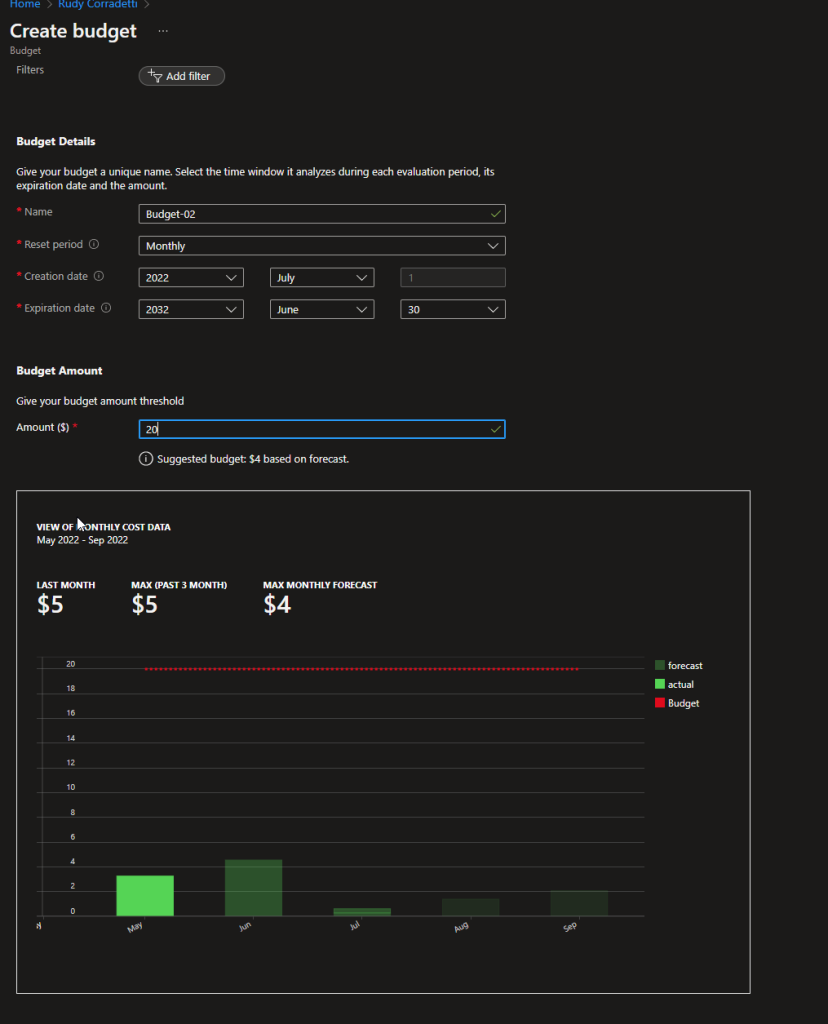
Note: My budget forecast is $4. A very cheap way to host a blog indeed.
3. Please fill in Alert conditions and Alert recipients. For conditions, I like to set four Actual alerts for every 25% of the budget increase. Click Create.
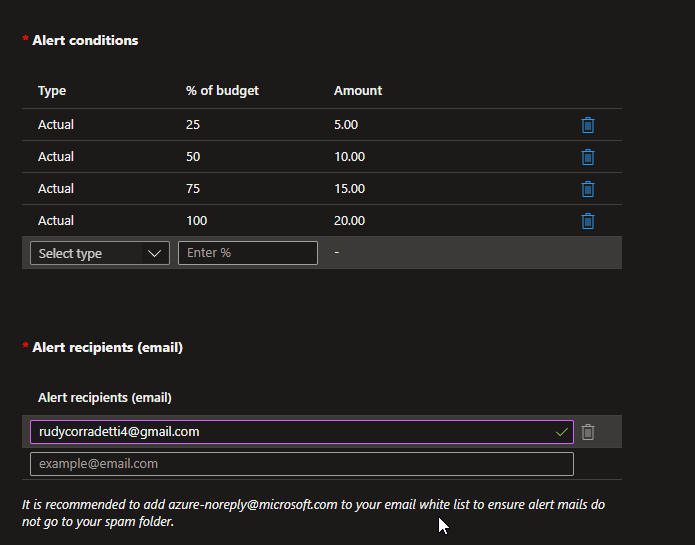
And that’s all there is to it. You will now receive an alert email based on your budget.
Now that we have set a budget to monitor our cost. We need to setup an alert to let us know when our WordPress site is under a heavy load or is experiencing a large amount of traffic. A really good indicator for how much load a system is under CPU utilization. That is exactly what we will monitor for below.
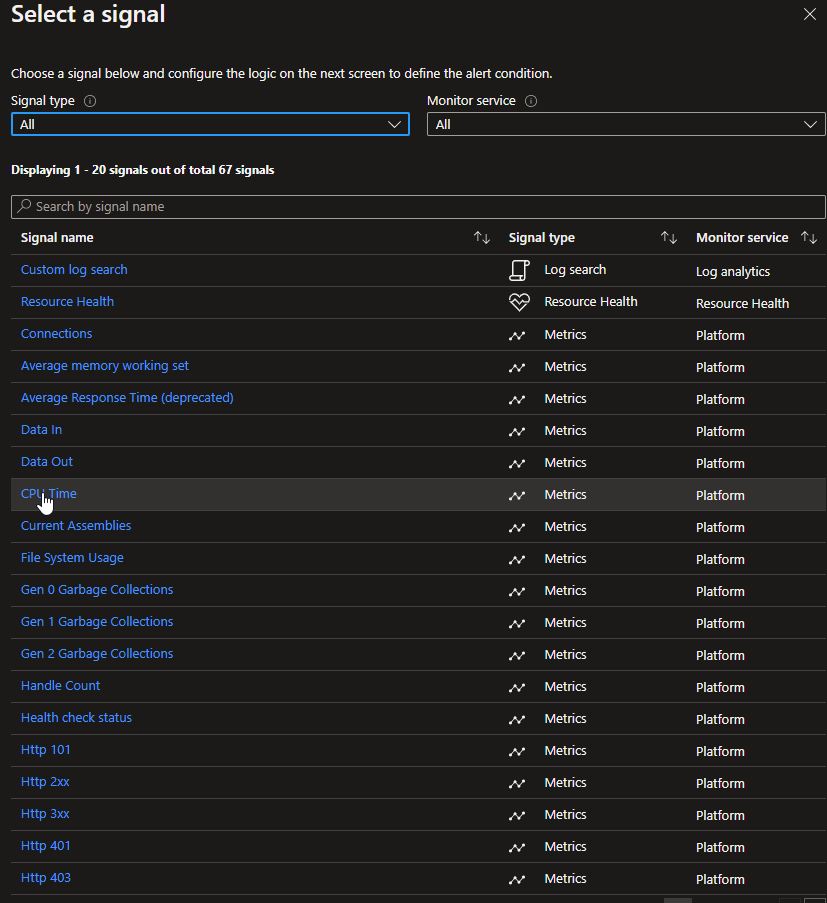
4. Azure Home > App Service (your website) > Alerts > Click Create Alert rule
5. Click CPU Time, this is the metric we will be monitoring. CPU Time is the amount of CPU consumed by our app in seconds.
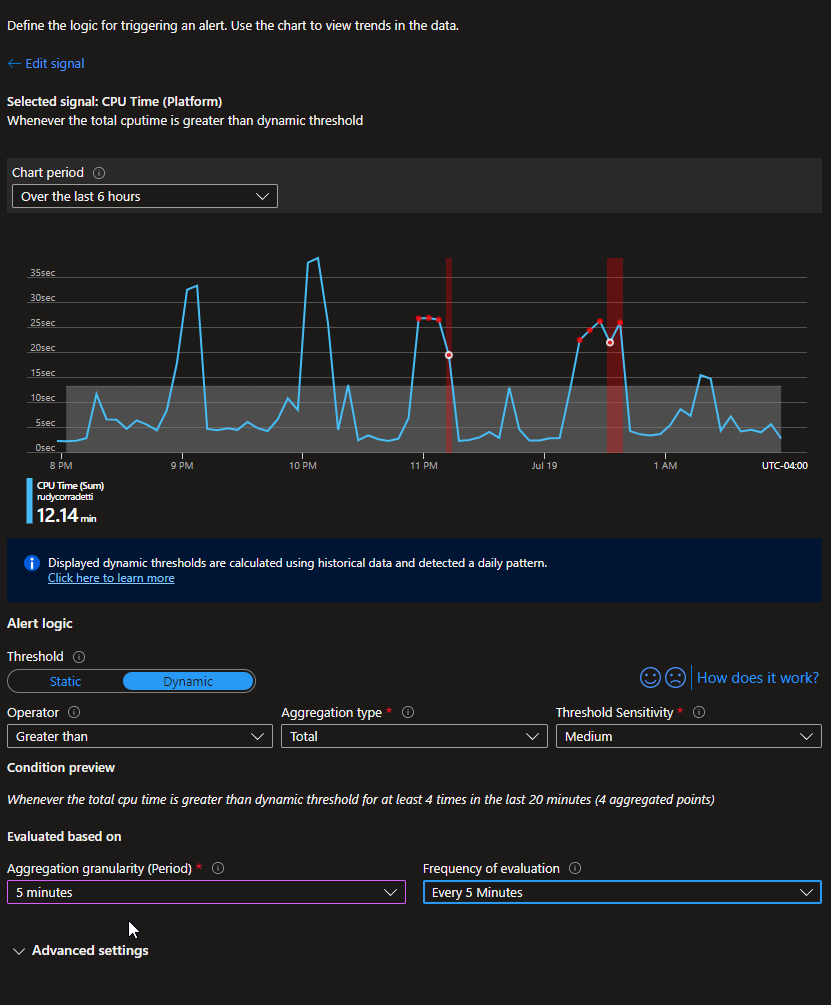
6. Now we need to configure our signal logic-
-Threshold – Dynamic
-Operator – Greater than
-Aggregation type – Total
-Threshold Sensitivity – Medium
Click Done
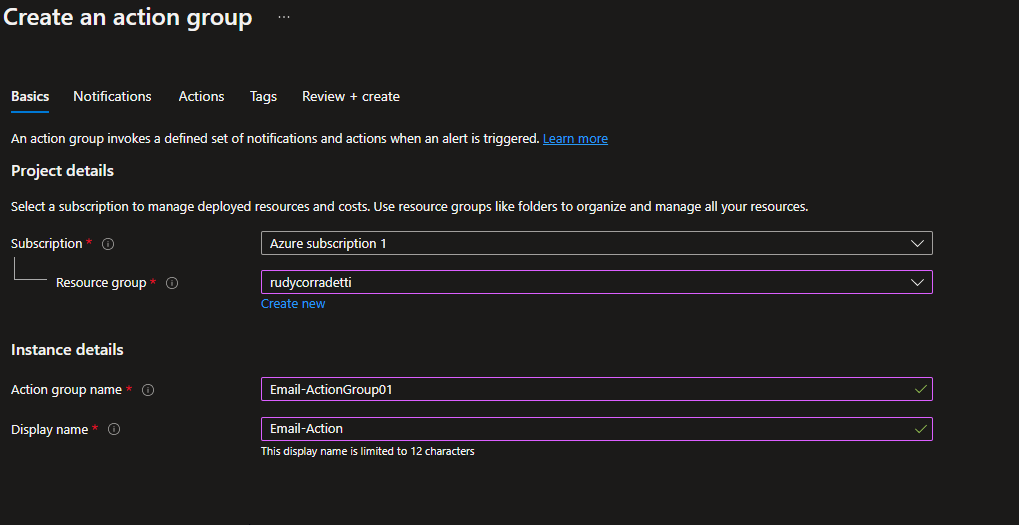
7. We need to create an action group to send our alerts to when our dynamic monitor above fires. Choose an existing resource group, add an Action group name, and a Display name, and click Next: Notifications.
8. Fill in your email and phone number for the notifications.

9. Click Next, for this example we will not be configuring an action click next again, click next past tags, finally click Review + create to create your Action group.
We now have setup a dynamic alert which will trigger when high CPU time is detected. When the alert is fired it will send an email and an SMS message to our Action group.
That wraps up our series. If you have followed along this far congratulations and thank you!
You have a scalable, monitored, secure WordPress site that should not cost more than $50 per year to host. I am thoroughly impressed with how competitively priced, easy to deploy, and performant Azure’s lower end plans are.
Thanks again for checking this series out. If you have any questions or feedback please leave them in the comments.
-Rudy
References:
https://docs.microsoft.com/en-us/azure/cost-management-billing/costs/tutorial-acm-create-budgets
https://docs.microsoft.com/en-us/azure/azure-monitor/alerts/alerts-dynamic-thresholds
2 thoughts on “Part 5 – Configuring Budget and Resource Utilization Alerts”