terraform-azurerm-aznamingtool: A Terraform Module to Deploy Microsoft’s Azure Naming Tool

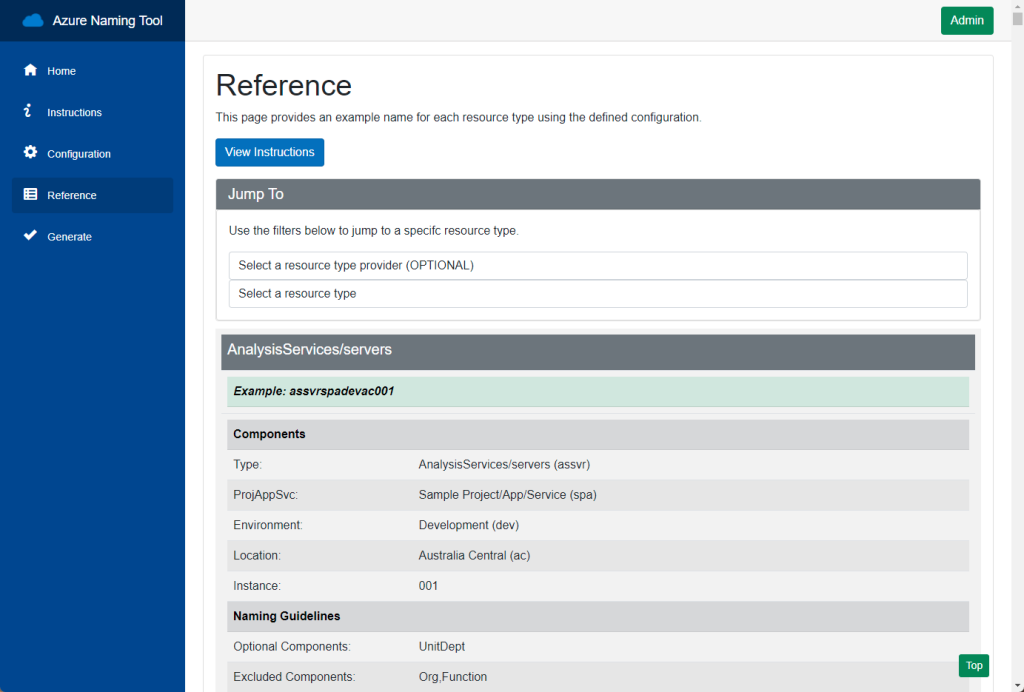
Struggling with inconsistent Azure resource naming? You’re not alone. Manually managing naming standards for various resources can be both time-consuming and error-prone, which may cause confusion later on. To address this, Microsoft created a free .NET core application called AzNamingTool. With a bit of configuration, this tool can generate compliant and consistent names for all Azure resources.
I was inspired to create this Terraform module after reading a blog post from Microsoft MVP, Luke Murray. In his post, Luke uses Bicep to deploy some resources and guides you through the remaining manual steps to get the tool running. It’s an informative and well-written post, so I highly recommend giving it a read.
The purpose of this post is to showcase a Terraform module that automates all steps required to deploy the AzNamingTool in Azure. It can deploy the tool either as a standalone container instance or within an App Service, located in an Application Service Environment (ASE).
Getting Started
Before you can use the module, you’ll need to set up the backend in your Terraform configuration. This is where the state file will be stored, and it requires an Azure Storage Account and container to be created in advance. Alternatively, you can use Terraform Cloud for your backend. Once you have the resources set up or decided to use Terraform Cloud, you can add the appropriate block to your configuration:
Note: There are many places to store your state. In these examples, we are using an Azure backend and Terraform Cloud backend. You can store your state file on your local machine, in Terraform Cloud, or in a container hosted at any number of cloud providers. It is entirely up to you and your organization’s requirements.
Additional Note: You must be logged in to Terraform Cloud via CLI for the Terraform Cloud backend to work properly. See this link for more info.
Usage
To use the AzNamingTool Terraform module, you’ll need to set up a few essential components in your Terraform configuration file:
- Configure the required providers, particularly the
azurermprovider. - Choose your backend for storing the Terraform state file: Terraform Cloud or Azure.
- Include the
module "aznamingtool"block, specifying the necessary parameters and tags.
Here’s a step-by-step guide on how to run the module:
Step 1: Configure the required providers.
terraform {
  required_providers {
    azurerm = {
      source  = "hashicorp/azurerm"
      version = ">= 3.0.0"
    }
  }
}

provider "azurerm" {
  tenant_id       = "your_tenant_id"
  subscription_id = "your_subscription_id"
  features {}
}
Replace your_tenant_id and your_subscription_id with the appropriate values for your Azure environment.
Step 2: Choose your backend for storing the Terraform state file.
Option A: Terraform Cloud
Set up your Terraform cloud organization and workspace.
terraform {
  cloud {
    organization = "YourOrganization"
    workspaces {
      name = "YourWorkspaceName"
    }
  }
}
Replace YourOrganization and YourWorkspaceName with the correct values for your Terraform Cloud setup.
Option B: Azure Backend
Configure the backend block for storing the state file in Azure Blob Storage. Ensure you have set up the storage account and container in advance.
terraform {
  backend "azurerm" {
    resource_group_name  = "your_resource_group_name"
    storage_account_name = "your_storage_account_name"
    container_name       = "your_container_name"
    key                  = "terraform.tfstate"
  }
}
Replace the values with the appropriate names for your Azure storage account and container.
Step 3: Include the module "aznamingtool" block.
module "aznamingtool" {
  source           = "app.terraform.io/YourOrganization/aznamingtool/azurerm"
  version          = "1.0.8"
  use_ase          = false
  location         = "SouthCentralUS"
  deployment_option = "container_instance"

  lz_business_description = "LZ Core Dependencies"
  lz_res_creator_account  = "your_creator_account"
  lz_release_env          = "DEV"
  lz_resource_category    = "Cloud Core"
  lz_res_app_family       = "INF"
}
Replace the source, location, deployment_option, and tags with the appropriate values for your project.
After completing these steps, you can run the AzNamingTool Terraform module by executing terraform init followed by terraform apply.
Main.tf Breakdown
Let’s dive into the main.tf file of the AzNamingTool Terraform module and take a closer look at what’s happening. This Terraform module is unique as it deploys the AzNamingTool either as a standalone container instance or into an App Service, located in an Application Service Environment (ASE). We’ll go through each resource block to understand the process.
- azurerm_resource_group: This resource creates a resource group to house all resources, with specified tags.
- random_id: Generates a random string to be used as a suffix for the storage account name.
- azurerm_storage_account: Creates a storage account to house the file share. The account name is created by combining the given name prefix and the random string generated in the previous step.
- azurerm_storage_share: Sets up a file share to house the AzNamingTool files.
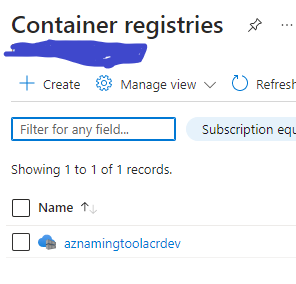
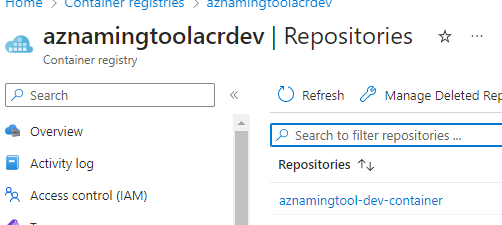
- azurerm_container_registry: Creates a container registry to store the AzNamingTool Docker image.
- azurerm_container_registry_task: Defines a container registry task to build the AzNamingTool Docker image.
- azurerm_container_registry_task_schedule_run_now: Triggers a build of the AzNamingTool Docker image.
- data.azurerm_app_service_environment_v3 and output.ase_id: Retrieves the App Service Environment (ASE) ID for use with the app service plan resource.
- azurerm_service_plan: Creates an App Service Plan for the AzNamingTool web app, but only if the “deployment_option” variable is set to “app_service”.
- azurerm_linux_web_app: Deploys a Linux Web App for the AzNamingTool, but only if the “deployment_option” variable is set to “app_service”. The Web App is configured with the storage account and the container registry credentials.
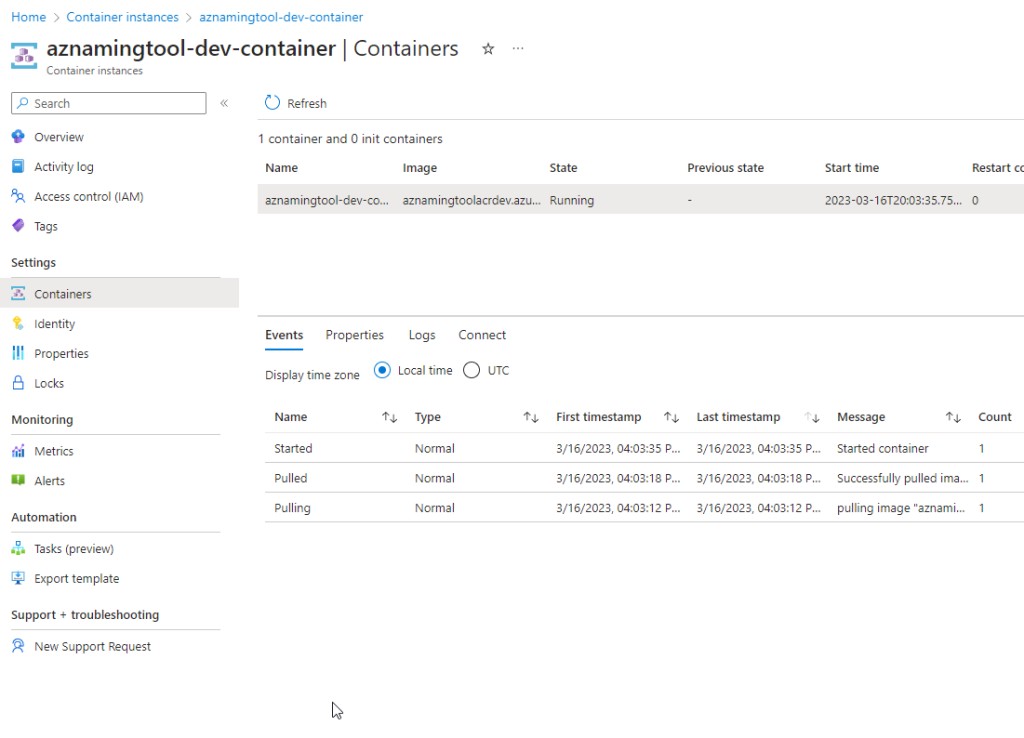
- azurerm_container_group: Creates a container group for the AzNamingTool container app, but only if the “deployment_option” variable is set to “container_instance”. The container group is configured with the container registry credentials, and the storage volume is mounted from the storage account and file share.
By the end of this process, the module deploys the AzNamingTool as either a container instance or an App Service, depending on the specified deployment option. It’s important to note that if you don’t have an Application Service Environment (ASE), the App Service option will not allow connections outside of the network it lives on without further configuration to the networking (to allow internet traffic in). Make sure to review and adjust the network settings accordingly if you’re deploying the AzNamingTool as an App Service without an ASE. If deploying into a functional ASE you should have no problems.
Leveraging count for Flexible Deployment Options
In the AzNamingTool Terraform module, we leverage the count attribute for a unique purpose. While most of us are familiar with using count it to create a specific number of resources, it can also be utilized to set deployment options. This aspect of the HCL (HashiCorp Configuration Language) allows us to conditionally create resources based on user preferences, offering greater flexibility and customization in the deployment process.
Let’s take a look at a code example from the AzNamingTool Terraform module that demonstrates the use of the count attribute for setting deployment options:
resource "azurerm_linux_web_app" "aznamingtool_web_app" {
  # Only create the web app if the "deployment_option" variable is set to "app_service"
  count               = var.deployment_option == "app_service" ? 1 : 0
  name                = var.aznamingtool_webapp_name
  resource_group_name = azurerm_resource_group.rg.name
  location            = azurerm_resource_group.rg.location
  service_plan_id     = azurerm_service_plan.aznamingtool-asp[count.index].id
  ...
}
In this code snippet, we define an azurerm_linux_web_app resource for the AzNamingTool web app. The count attribute is used to conditionally create this resource based on the value of the deployment_option variable. If the deployment_option variable is set to “app_service”, the count attribute will be set to 1, which means that one instance of the resource will be created. If the deployment_option is set to any other value, the count attribute will be set to 0, and the resource will not be created.
This approach allows us to create a more flexible and user-friendly module, giving users the freedom to choose their preferred deployment method without having to make significant changes to the module’s code. By leveraging the count attribute, we can simplify the deployment process and provide a more seamless experience for users looking to deploy the AzNamingTool in Azure.
Docker Image Building and Deployment with ACR Tasks
Thanks to the wonderful folks at Microsoft the AZNamingTool is ‘dockerized’. LOL, alright dockerized isn’t a word. What I mean is it has a dockerfile in the root of the project’s directory which allows us to build it into an image.
The AzNamingTool Terraform module integrates container, container task, and container task run resources to automate the process of building and deploying Docker images. This approach offers a streamlined solution, enabling users to easily deploy the fully built image across various Azure services.
The module begins by creating a container registry to store the AzNamingTool Docker image. Next, the container task resource is configured to build the Docker image, leveraging the user-provided Dockerfile path, context path, and access token. This ensures that the image is built according to the desired specifications, allowing for customization based on the specific application requirements.
Once the Docker image is built, the container task run resource triggers the build process, ensuring that the latest version of the image is available for deployment. This powerful combination of resources simplifies the deployment process, making it easy to deploy the fully built image anywhere in Azure.
This solution is not limited to the AzNamingTool; it can be applied to any Dockerized source code. By utilizing the container, container task, and container task run resources, users can automate the build and deployment process for a wide range of applications, enhancing efficiency and flexibility in Azure environments without the need for GitHub Actions or Azure Dev Ops pipelines.
My Preferred Approach: On-Demand Container Instance – Balancing Cost, Security, and Efficiency
My go-to method for utilizing the AzNamingTool Terraform module is to deploy it as a container instance on-demand via Terraform Cloud workspace. By doing so, I only run the deployment when it’s needed.
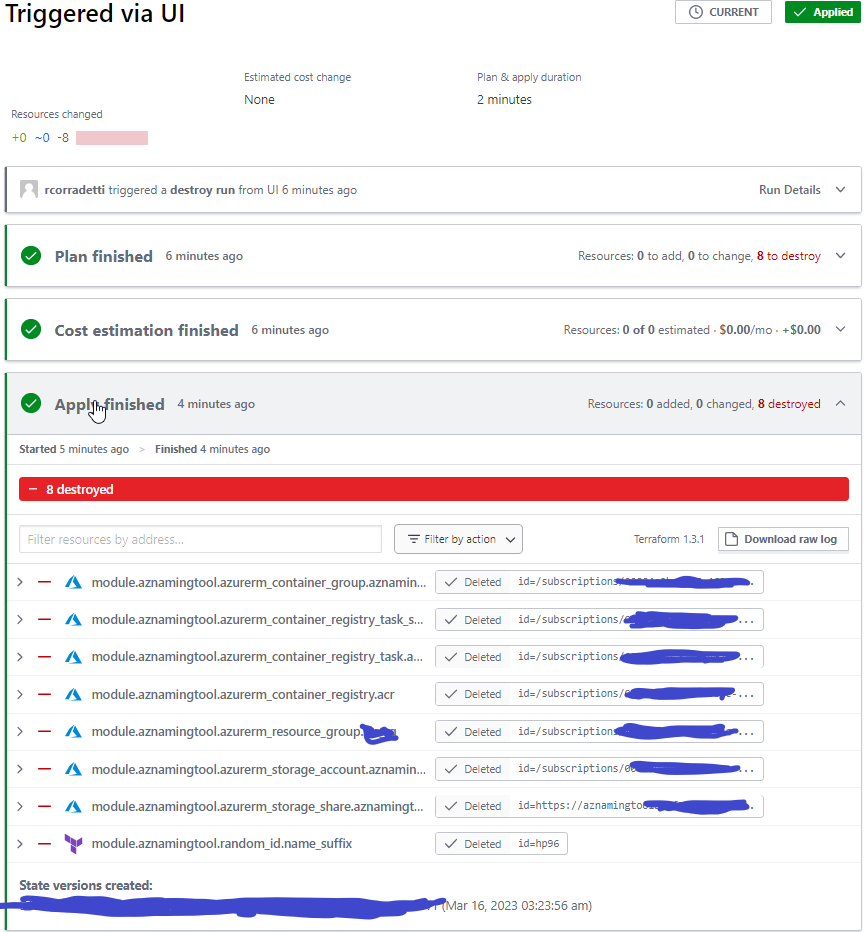
During the initial deployment, I configure the product components section and then export the configuration as a JSON file. I store this JSON file in the same internal repository as the AzNamingTool, ensuring that we’re not running the container instance when it’s not in use. On subsequent deployments, I simply import the config and generate the name required for my Azure resource. Once the name is generated I destroy the tf cloud associated workspace’s resources.
By adopting this approach, we reduce the solution’s costs, minimize its attack surface, and optimize its resource usage in Azure. This is an example of how the integration of infrastructure as code (IAC) allows for a more efficient and secure way to manage our Azure resources.
Parting Thoughts
In conclusion, the AzNamingTool Terraform module provides an effective solution for consistent Azure resource name generation. My goal was to create a Terraform module to deploy the AzNamingTool, as one did not previously exist, and to cut down on the manual steps outlined in the official documentation. I feel that my goal for this project has been met, as the module streamlines the deployment process by harnessing the power of container instances, container registry tasks, and Terraform. This approach promotes a secure and well-organized Azure environment, making it easier to manage and maintain.
Thank you for reading! I’m always learning and eager to hear your thoughts and feedback. Please share your insights in the comments or feel free to reach out to me directly.
-Rudy
Related Links:
https://registry.terraform.io/modules/RCFromCLE/aznamingtool/azurerm/latest
https://github.com/RCFromCLE/terraform-azurerm-aznamingtool
https://luke.geek.nz/azure/deploy-azure-naming-tool-into-an-azure-webapp-as-a-container/
https://github.com/microsoft/CloudAdoptionFramework
https://www.youtube.com/watch?v=Ztmxx_KhZdE&ab_channel=AzureAcademy